

Why Is My Forklift Battery Charger Not Working?
A shift supervisor plugs in the forklift charger at the end of a busy Friday, expecting a full battery by Monday morning. He doesn’t check the display, doesn’t confirm the light, just walks out the door. Monday arrives, the operator climbs on, and the machine barely lifts a pallet before the low-battery alarm sounds. The charger had tripped a breaker hours after everyone left, so the battery sat dead all weekend. Now the whole loading schedule slips while a spare pack scrambles onto the charger, and a five-second glance on Friday could have saved a half-day of stalled work. The charger wasn’t broken beyond hope. Nobody had looked closely enough to catch the simple fault.
A forklift charger that won’t work rarely fails for one dramatic reason. It’s usually a stack of small, overlooked causes: a dead outlet, a loose connector, a fault code no one read, or a battery too far gone to accept a charge. The good news is that most of these are quick to diagnose once you know where to look. This post walks you through why your forklift battery charger isn’t working and what to do about it, covering the power supply and connection issues that cut it off, the charger faults and settings that stop a cycle, the battery problems that block charging entirely, and how to decide between a repair and a replacement. Sort these out, and your charger gets back to keeping your fleet running.
Power Supply and Connection Problems That Cut It Off
Before you suspect the charger itself, confirm it’s actually getting power and a solid connection. A surprising share of “dead charger” calls trace back to the wall, the plug, or the cable rather than the unit. Checking these first is the fastest and cheapest step you can take.
Check the Power Source First
Start at the outlet. A tripped breaker, a blown fuse, or a dead circuit will leave a perfectly good charger showing nothing at all. Confirm the breaker for the charging circuit is on, test the outlet with another device, and make sure a facility-wide power issue isn’t the real culprit.
Industrial chargers often run on high-voltage circuits, so a partial power loss can leave the unit acting strangely rather than simply staying dark. Walking through basic charger connection troubleshooting means verifying full, stable voltage at the source before you blame the hardware. A charger starved of proper power can’t do its job no matter how healthy it is.
Inspect Cables, Plugs, and Connectors
With power confirmed, follow the cables. Look over the input cord for cracks, cuts, or scorch marks, and check the output cable and connector that mate to the battery. A frayed cable or a damaged plug interrupts the circuit and stops charging cold, sometimes intermittently, which makes the fault harder to spot.
Pay special attention to the battery connector. These take heavy daily use, so worn contacts, bent pins, or melted housings are common and often overlooked. A loose or corroded connector adds resistance that can stop a charge or trip a fault, so clean the contacts and confirm they seat firmly and fully.
Rule Out Loose or Corroded Terminals
Connections at both ends of the charge circuit matter. Corroded, loose, or dirty terminals on the battery add resistance that blocks the current the charger is trying to push. If the charger starts and quickly quits, resistance at a bad connection is a frequent cause worth checking early.
Clean every contact point and tighten what’s loose. Wipe corrosion off the battery terminals, confirm the connector locks in place, and make sure nothing is caked with dirt or grease.
Takeaway:: a dead outlet, a damaged cable, or a loose connector stops a healthy charger just as surely as an internal fault, so verify power and connections before you dig any deeper.
Charger Faults and Settings That Stop a Cycle

Once power and connections check out, turn to the charger itself. Modern forklift chargers are smart devices with fault detection, and they often refuse to run for a specific reason they’re trying to tell you. Understanding what the unit is signaling saves you from guessing.
Read the Display and Fault Codes
A charger that won’t complete a cycle usually shows why on its display or through its indicator lights. A blinking error light, a fault message, or an unusual light pattern points directly to the problem, whether that’s an overtemperature shutdown, a timeout, or a detected battery fault.
Don’t ignore what the unit reports. Looking up the forklift charger fault codes in the operator manual translates those signals into a specific cause and fix, which beats trial-and-error every time. The charger is often diagnosing itself, so reading its message is the quickest route to the real problem.
Confirm the Charger Settings Match the Battery
A charger set for the wrong battery may refuse to start or stop a cycle partway. Many industrial chargers are configured for a specific battery voltage, capacity, and chemistry, and a mismatch triggers a protective shutdown rather than a completed charge.
Confirm the profile fits the pack. Check that the charger’s voltage and amp-hour settings match the battery it’s connected to, and that the chemistry setting is correct for a flooded, gel, AGM, or lithium pack. A charger whose profile doesn’t match the battery voltage threshold of the pack will often stop before doing any real work, so aligning the settings is essential.
Watch for Overheating and Internal Faults
Chargers protect themselves from heat. A unit packed with dust, blocked ventilation, or a failed cooling fan can overheat and shut down mid-cycle, then refuse to restart until it cools. Poor airflow around the charger is a common and easily fixed cause of intermittent failure.
Give the charger room to breathe and keep it clean. Clear dust from the vents, confirm the cooling fan runs, and make sure nothing crowds the unit. If a charger runs briefly and quits with no clear power or battery fault, heat or an internal component failure is the likely reason.
Takeaway:: a modern charger usually explains itself through fault codes, mismatched settings, or heat protection, so read the display, confirm the profile matches the battery, and keep the unit cool before assuming it’s dead.
Battery Problems That Block Charging Entirely
Sometimes the charger is fine and the battery is the reason nothing happens. Many smart chargers won’t even start a cycle on a pack they judge unsafe or unrecoverable. Recognizing when the battery is the true fault keeps you from chasing repairs on a working charger.
A Deeply Discharged or Dead Battery
Most industrial chargers refuse to start on a battery whose voltage has fallen too low. It’s a safety feature, since charging a deeply discharged or damaged pack can be dangerous. So a battery left dead for too long can read as a charger problem when the charger is simply protecting itself.
Measure the battery voltage before blaming the unit. If the pack sits well below its rated minimum, the charger may lock out until the battery is recovered or replaced. A dead pack that dropped below the safe starting point is one of the most common reasons a charger appears to do nothing.
Sulfation, Cell Damage, and Age
Inside a lead-acid battery, sulfation and cell damage can raise resistance high enough that the charger detects a fault and quits. A pack with a failed cell, heavy sulfation, or plates worn out by age may be unable to accept a charge the way the charger expects, triggering an error instead of a cycle.
Test the battery directly when the charger reports a battery fault. A load test and a cell-by-cell voltage check reveal whether the pack still holds capacity or whether internal damage is blocking the charge. When a charger refuses a battery that’s several years old and heavily cycled, age and internal wear are often the honest answer.
Low Electrolyte and Maintenance Issues
On flooded lead-acid batteries, low electrolyte can expose the plates and stop a proper charge. A pack that hasn’t been watered on schedule may not charge correctly, and running it that way both blocks charging and shortens its life.
Keep up with basic battery care before condemning the charger. Check the electrolyte levels, top off with distilled water after charging as recommended, and clean any corrosion off the terminals.
Takeaway:: a deeply discharged pack, internal cell damage, or neglected maintenance can all stop a charge at the battery rather than the charger, so test and tend the battery before assuming the unit has failed.
When to Repair, Reset, or Replace
Once you’ve worked through power, connections, settings, and the battery, the path forward usually becomes clear. Knowing when a simple reset fixes it, when a repair makes sense, and when replacement is the smart call saves both money and downtime. Here’s how to make that decision.
Try a Reset and Basic Troubleshooting First
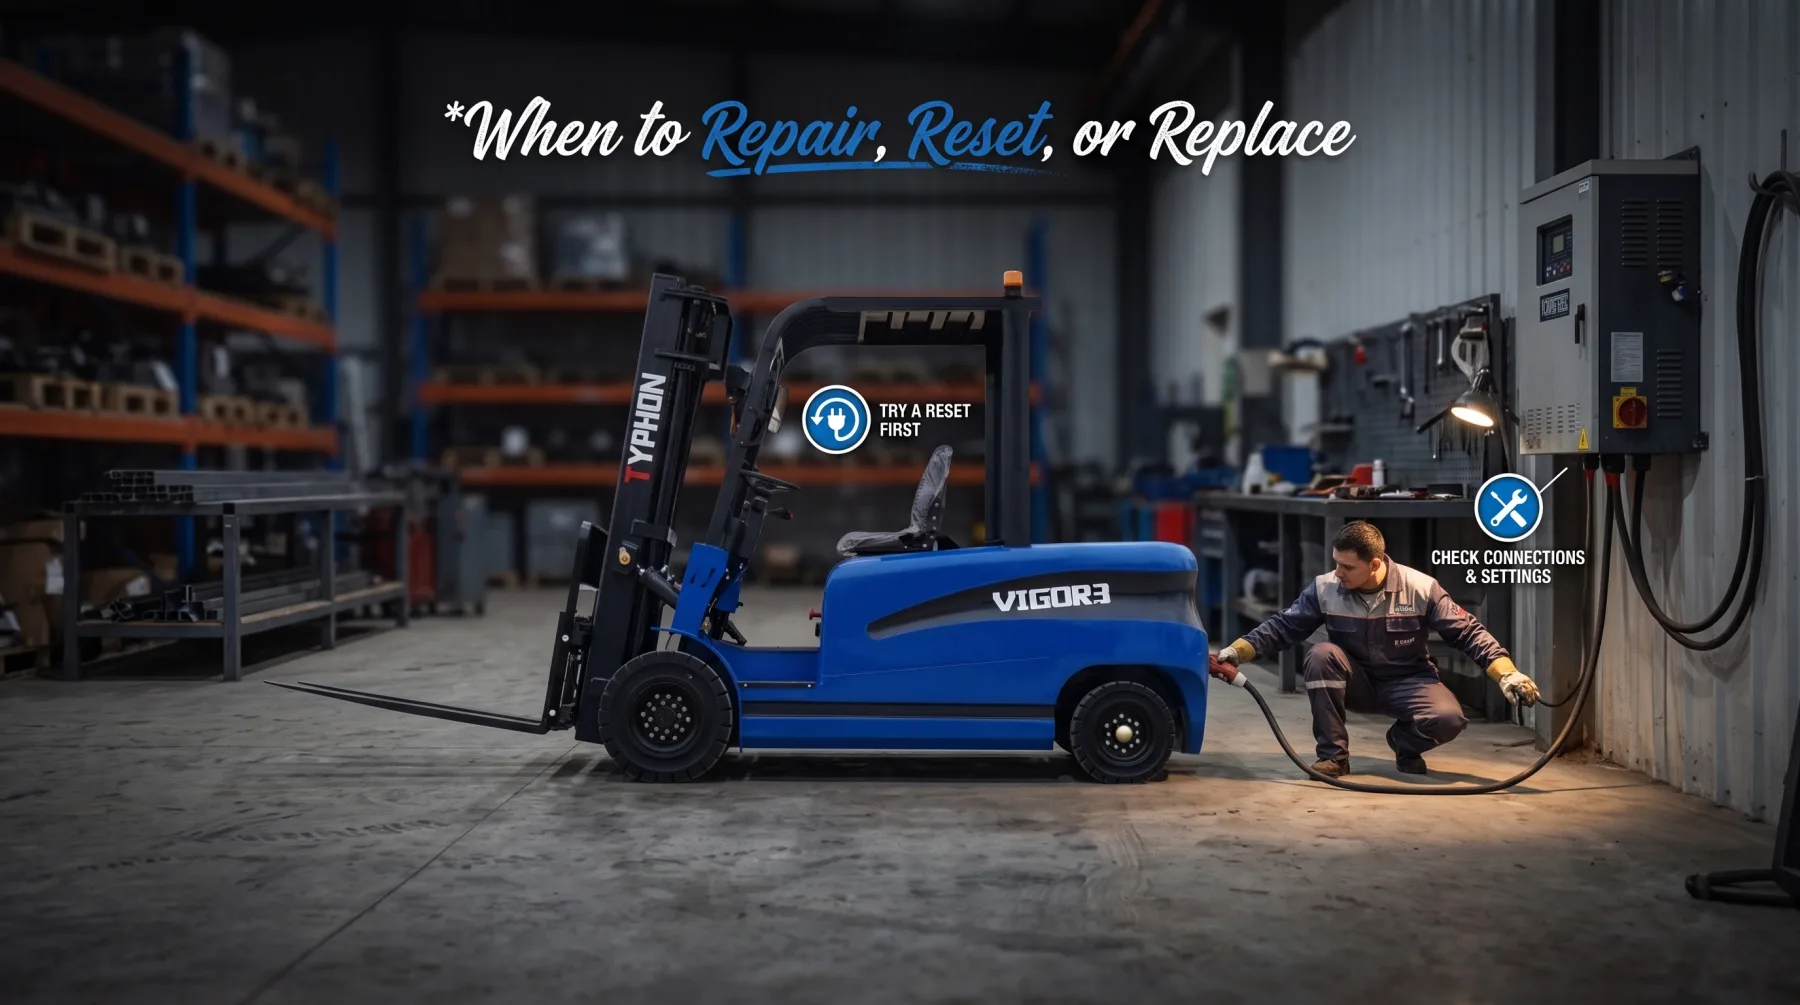
Many charger faults clear with a simple reset. Unplug the charger, let it sit for a minute, and power it back up, which often resolves a one-time glitch or a temporary protective shutdown. Confirm the connections are clean and firm, the settings match the battery, and the vents are clear before you conclude anything is truly broken.
Work through the causes in order rather than jumping to replacement. Verify power at the outlet, inspect the cables and connectors, read the fault codes, and test the battery. Most no-charge problems trace back to one of these simple checks rather than a failed charger, so an orderly diagnosis usually finds the fix.
Know When a Professional Repair Makes Sense
Some faults call for a qualified technician. Internal component failures, blown fuses inside the unit, a dead cooling fan, or persistent fault codes that survive a reset are best handled by someone equipped to work on high-voltage charging equipment safely. Opening an industrial charger without the right training is a real hazard.
Weigh the repair against the machine’s value. A quality charger with a single failed component is usually worth repairing, especially when the fix is straightforward and the unit is otherwise sound. Leaning on dependable service keeps a small internal fault from turning into a longer outage for your fleet.
Recognize When Replacement Is the Right Call
Sometimes replacement is the reliable, cost-effective choice. A charger that’s old, repeatedly failing, badly overheated, or mismatched to your battery may cost more to nurse along than to replace. When downtime keeps stranding your equipment, the lost hours quickly outweigh the price of a new unit.
Match any replacement to your battery and workload. Choose a charger with the correct voltage, capacity, and chemistry profile for your pack, sized to recharge it fully within your shift schedule.
Takeaway:: start with a reset and orderly troubleshooting, call a professional for internal faults, and replace a charger that’s aged or repeatedly failing, so you fix the problem in the most reliable and economical way.
Frequently Asked Questions
Why won’t my forklift charger turn on at all?
A charger that shows nothing is usually missing power. Check the breaker for the charging circuit, test the outlet, and inspect the input cable for damage. Industrial chargers run on heavy circuits, so a tripped breaker or a partial power loss leaves the unit dark. If the power source checks out and the charger still won’t power up, an internal fuse or component may have failed, which calls for a qualified technician.
Why does my charger start and then stop right away?
A charger that quits soon after starting is often reacting to a fault. A loose or corroded connection adds resistance that trips a shutdown, a settings mismatch with the battery stops the cycle, or the battery itself reads as damaged or too deeply discharged to charge safely. Read the fault code on the display, clean and tighten the connections, confirm the settings match the pack, and test the battery to find the specific cause.
Could the problem be my battery instead of the charger?
Yes, and it’s common. Many smart chargers refuse to start on a deeply discharged pack, a battery with a failed cell, heavy sulfation, or low electrolyte, since charging an unsafe battery is a hazard. Measure the battery voltage and run a load or cell-by-cell check. If the pack sits below its safe minimum or shows internal damage, the battery is likely the reason the charger appears to do nothing.
What do the fault codes on my forklift charger mean?
Fault codes are the charger telling you why it won’t run. Depending on the model, they can indicate an overtemperature shutdown, a charge timeout, a battery fault, or a connection problem. Look the specific code up in your charger’s operator manual, which translates it into a clear cause and fix. Reading the code first is far faster than guessing and points you straight to the real issue.
When should I replace my forklift charger instead of repairing it?
Repair usually makes sense for a quality charger with a single failed component. Replace the unit when it’s old, repeatedly failing, badly overheated, or mismatched to your battery, because nursing it along costs more in downtime than a new charger. When a failing charger keeps stranding your equipment, the lost hours outweigh the replacement price. Match any new charger to your battery’s voltage, capacity, and chemistry, and size it to recharge within your shift.
Conclusion
Most forklift charger problems trace back to something simple: a dead outlet, a damaged cable, a loose connector, a misread fault code, or a battery that can no longer accept a charge. Work through those causes in order before condemning the unit. Verify the power source, inspect the connections, read the display, confirm the settings match your pack, and test the battery. Most no-charge faults resolve at one of those steps. When they don’t, a professional repair handles internal component failures safely, and replacement makes sense for a charger that’s aged, overheated, or repeatedly failing. Get the diagnosis right, and you keep your fleet charged and your shifts running on schedule. When you’re ready to source a dependable charger or the service support to back it up, reach out to a trusted equipment specialist who can match the right solution to your operation.