
Design the Pond
Developing a thorough project blueprint is absolutely crucial before starting the practical work of excavating a pond using an excavator. The basis on which the whole pond building rests is a painstakingly created design. It should call for the pond’s planned form, exact location, and measurements.
Your pond design’s intended usage is the first factor you give any thought. Ponds can be ornamental, irrigation, or fish habitats among other uses. Every use could call for particular architectural elements. For instance, whereas an irrigation pond could need easily accessible and controlled water levels, a pond designed for fish may need deeper regions to maintain aquatic life.
One must deliberate mostly with location in mind. One should take proximity to other buildings, such gardens, barns, or houses into account. Your design should guarantee appropriate distances and follow of local construction norms and regulations. Moreover, avoiding problems like flooding or inadequate water retention depends on knowing the groundwater levels.
Not less important is the consideration of the local wildlife. Your pond should fit the surroundings so as to provide a habitat for the nearby ecology. This means selecting native plant species for the surrounds of the pond and making sure the slopes are mild to enable the access of animals.
A well-considered proposal should have clauses covering future maintenance. Add elements that would help with pond draining or cleaning as well as access points for routine maintenance. By paying close attention to these components, you will avoid possible expensive errors and guarantee that the excavator can effectively and without problems dig.
A good pond project depends essentially on a thorough design period before using an excavator. Apart from simplifying the excavation process, it guarantees long-term viability and harmony with the surroundings.
After the pond’s pattern has been painstakingly created, marker flags help to translate that design into actual proportions. This procedure is crucial since it guarantees that the pond is excavated according to the precise measurements described in the design, therefore avoiding expensive mistakes and guaranteeing the structural stability of the project.
First make sure the site is free of anything that can impede the marking process. For accuracy, work on a clean surface is absolutely vital. Having the blueprint in hand, start delineating the size of the pond by setting marker flags at strategic spots throughout the approved dig site. These flags will be visual markers, precisely delineating the size and form of the pond.
Give accurate measurements great attention. Measure the depth, width, and length with a measuring tape; mark each dimension precisely. Inaccurate measurements can cause differences that might jeopardize the pond’s look or efficiency. Every marker flag should exactly match the plan of the pond, so guiding your clear and defined course throughout excavation.
For this work, a methodical approach yields optimal results. Move slowly around the pond’s whole perimeter starting from one corner. Additional flags could be required to adequately highlight curved or irregularly shaped portions of your design. Use extra markers to designate important transition points—that is, where sitting areas or depth changes are intended—for a more exact layout.
Colour-coded flags can also be useful, especially for separating several areas of the pond. One color might show the overall perimeter, another the sections of different depth, and a third might draw attention to extra elements like planting zones or islands. This approach gives the visualizing process still another level of clarity.
Strictly following the marker flags helps the excavation operation to be much more controllable, guaranteeing exactly as intended pond excavation. This preparatory stage lays the groundwork for a good excavation, therefore transforming written plans into physical, on-site development.
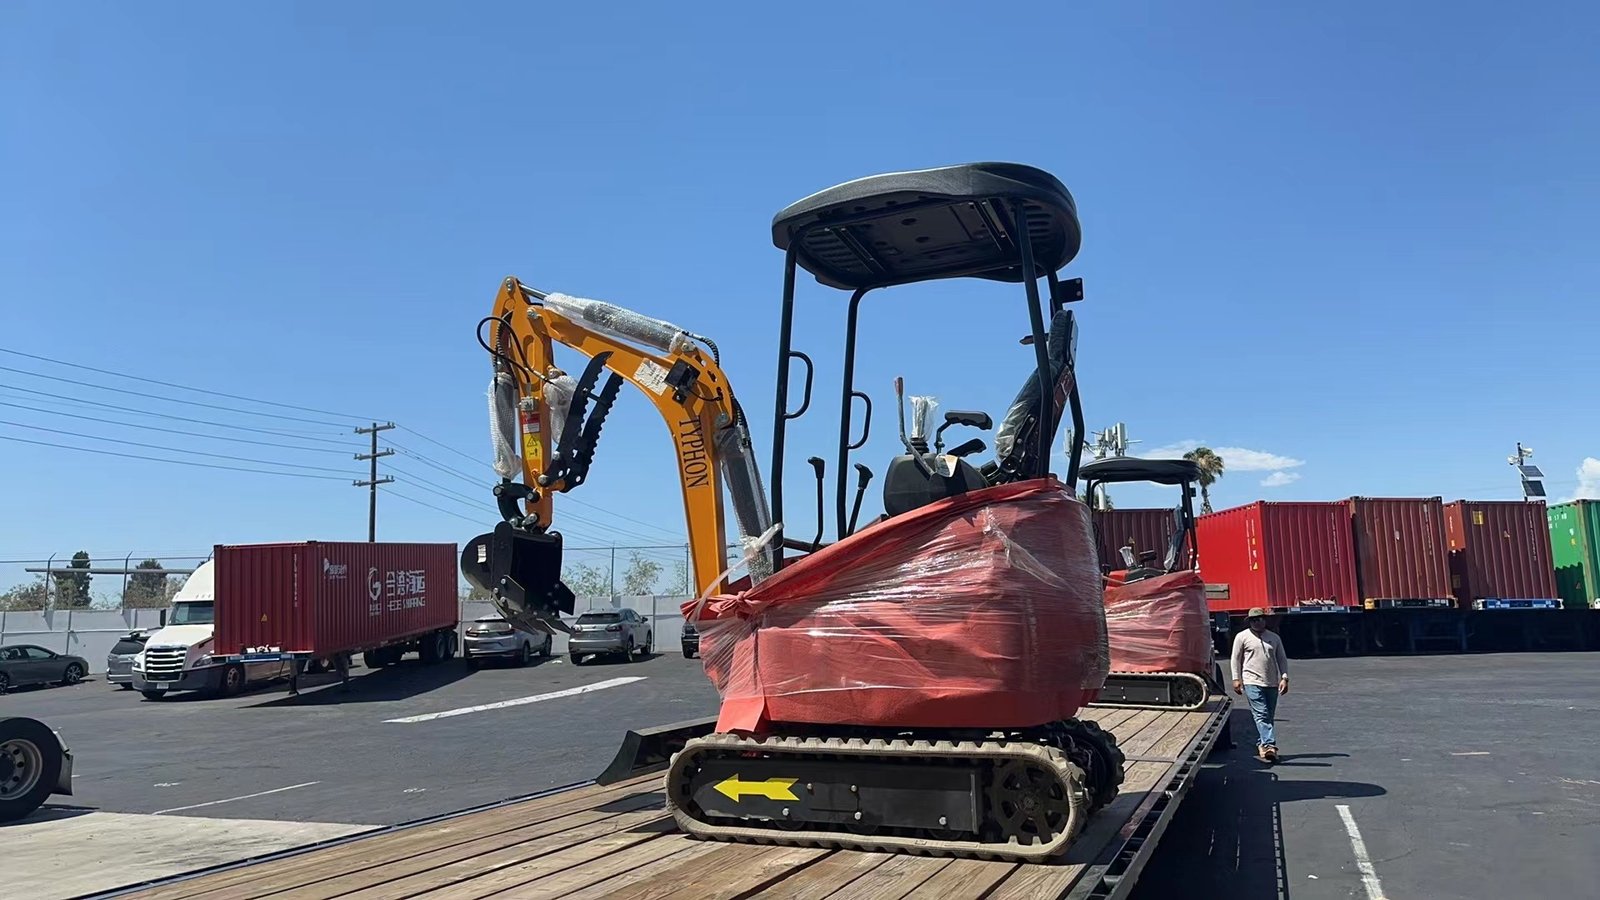
The effective completion of your pond digging job depends much on the choice of the suitable excavator. The particular specifications of your pond, including its size and the state of the site, determine which of a mini-excavator or a larger model would be most appropriate. A mini-excavator gives enough power and mobility for tiny ponds or areas with restricted access. On the other hand, bigger ponds need a more strong excavator that can manage more significant job with a wider reach and bigger bucket capacity.
When assessing excavators, concentrate on important criteria such bucket capacity, reach, and horsepower. Higher horsepower an excavator will guarantee that the equipment can manage difficult jobs without overloading. Particularly for bigger ponds, reach is vital since it controls the extent of the excavator arm’s extension, therefore influencing the amount of soil it can move without requiring repositioning. The volume of material the excavator can move and lift determines the bucket size, thereby affecting general efficiency.
Budget issues also come first. Consider all related expenses whether you are buying or renting an excavator. The size and type of the excavator will greatly affect the rental prices. Although buying an excavator is a significant outlay, if you have several current or prospective projects it could be justifiable. Financial viability also depends on close examination of operational expenses including fuel use and maintenance.
Think about auxiliary attachments used to improve the operation of the excavator. While rippers might be quite helpful for breaking through compacted or rocky ground, specialized buckets made for effective digging might simplify the procedure. Such attachments help to speed up completion and raise the caliber of the excavation.
Overall, careful choice of the suitable excavator, considering its power, reach, bucket size, and possible attachments, together with careful financial planning, will help to ensure a smooth and effective pond digging operation.
Excavation Process
The excavating procedure can start with your painstakingly drawn out design and marker flags in situ. Start by clearing the soil. Set away this rich layer since it will be needed for landscaping around the pond or other part of your property later on. The first stage is absolutely important since it offers a clean, obstacle-free space for the more meticulous labor that comes later.
Once the top soil has been removed, progressively probe the allocated pond area. Often reviewing the depth and slope against your blueprint will help you to make sure you are following the intended design. Regular measurements support the preservation of the dimensions’ accuracy of the project. Focus especially on areas set for different depths or distinctive forms. Carefully sculpt these special characteristics using the precision capabilities of the excavator.
The bed of the pond has to be kept flat and free from big boulders and trash as you dig. In addition to guaranteeing a more natural look, this helps to avoid damage to pond liners—should they be utilized. Eliminate any obstructing objects right once to keep the working area neat and for continuous development. Especially close to the boundaries of the excavation site, regular inspection of the stability of the surrounding ground is vital. Any signs of instability should be taken care of right once to avoid collapses that could change the layout of the pond and create unneeded risks to the operation.
Mindful respect of the blueprint and cautious operation of the excavator will produce a pond that satisfies your practical and aesthetic goals throughout the excavation process. Together with regular accuracy checks, precision in execution guarantees the creation of a well-made body of water that fits well into the surroundings.
Drainage and Overflow Setup
Long-term viability and structural integrity of your pond depend on proper drainage and overflow systems. Effective channeling of extra water away by a well-designed drainage system helps to prevent overflow under high rainfall. This calls for a calculated technique to control the prospective as well as the current water quantities your pond will come across.
First, find the natural slopes and water flow in the vicinity of your pond. This knowledge will help you create a drainage system that enhances rather than detracts from the surroundings. You might have to lay drainage pipes at key spots all around the pond. These pipes should convey surplus water away from the pond using the natural downhill gradient or towards a proper drainage point.
Apart from pipes, building drainage channels can help to control water flow. Especially during storms, these channels should be wide enough and deep enough to manage appreciable water volumes. Gravel or stone line the channels to stop soil erosion and enhance water filtration as it passes through the system. Careful planning of the depth and orientation of these channels will help to guarantee they give the drainage pipes consistent support.
Besides, adding an overflow function is really essential. This function offers a safe path for extra water since it is meant to manage the surprising rise in water volume. Usually located near the edge of the pond, an overflow spillway helps with this. Make sure the spillway is strong and steady to prevent pond bank structural damage or erosion. The overflow materials should be robust and able to resist different water pressures and environmental conditions. Its efficiency may be improved by matching the overflow with natural low places in the surrounding terrain.
Careful planning and setting up drainage and overflow systems helps you to establish a balanced ecosystem that preserves the structure and visual attractiveness of your pond. Apart from preventing overflow, a good system reduces erosion risk, therefore extending the lifetime and usability of your pond.
Finishing Touches
It’s time to concentrate on the last details for your pond after finishing the excavation and setting the necessary drainage systems. Start by lining the pond with something fit for your particular requirements. Common selections are a dedicated pond liner, geotextile cloth, or clay. Often used for their inherent sealing qualities is a clay liner; geotextile fabric offers strength and protection. Usually composed of flexible PVC or rubber, a pond liner provides waterproofing and durability, therefore assuring the trench efficiently contains water.
Then make use of the top soil you already placed aside during the first excavation process. One can make a berm or slope from this soil around the sides of the pond. These berms not only look great but also serve a purpose by giving the pond’s structure more stability and controlling erosion. Additionally aesthetically pleasing and simpler to grow around the pond is a mild slope.
Once the structural elements are in place, the look and biological balance of the pond can be much improved by adding aquatic plants and other landscaping elements. Select a range of aquatic plants that fit your environment and help to maintain a healthy watery habitat. These plants will provide local wildlife habitats and assist with water filtration.
Once the plantings and liner are finished, flood the pond. Monitoring the filling process guarantees the pond maintains the intended depth and form. Make any required tweaks now to keep the pond structurally sound. By finishing this stage, you will be able to verify whether the pond operates as expected.
At last, make sure the water quality fits for its intended use—that of fish, plants, or just a decorative water feature. Frequent water testing can help to preserve ideal conditions. Carefully attention to these last details will produce a pond that is both attractive and useful.